Ubuntu 24.04 is 10th Long Term Supported (LTS) release that sets a new standard in performance engineering and developer experience. I have been using Ubuntu for a few years now on both PC and Mac, installed natively as well as virtual machine. With Mac now on Apple silicons, virtual machine is one of the options for using Ubuntu on Mac. My post a couple years ago provided the steps to install and use Ubuntu 22.04 on Mac M1. Since then, I have switched to VMware Fusion for Mac to use Ubuntu. VMware Fusion is free for personal use and a more stable option. This post describes the steps to set up Ubuntu 24.04 on Mac M1 using VMware Fusion
Prerequisites
- Apple Machine with M1 hardware
- VMware Fusion installed on the Apple machine
- Basic understanding of Linux operating system
1. Download Ubuntu 24.04 ISO image
Mac M1 is ARM based system. So, go to the link https://cdimage.ubuntu.com/noble/daily-live/current/ and download noble-desktop-arm64.iso
2. Open VMware Fusion and install Ubuntu 24.04 on Mac M1
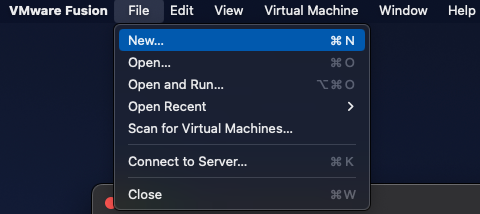
Select New
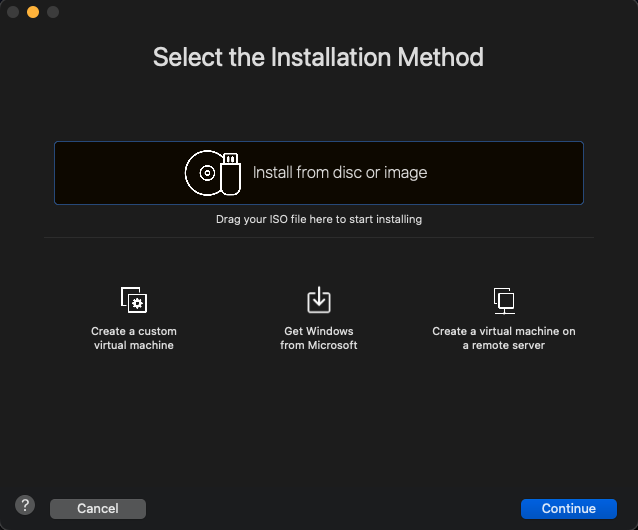
Drag and drop noble-desktop-arm64.iso image
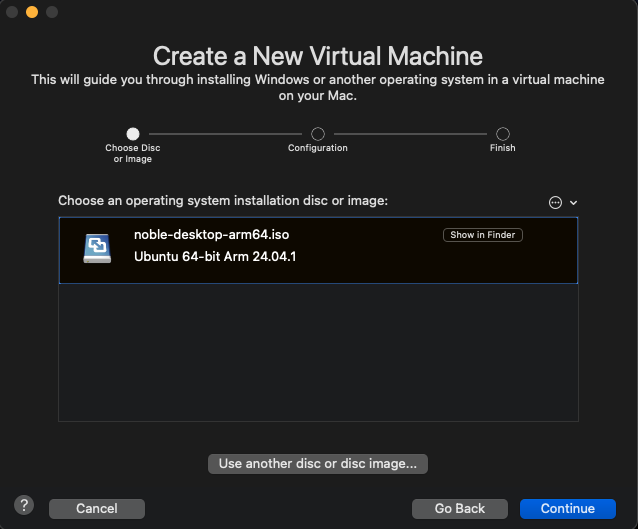
Click Continue
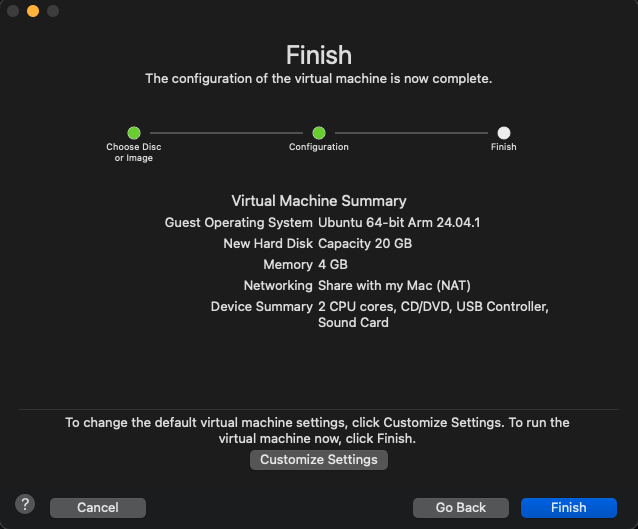
Customize Settings to modify default values
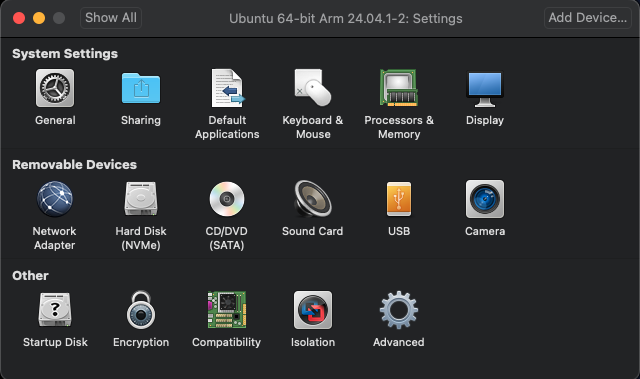
Select Hard Disk
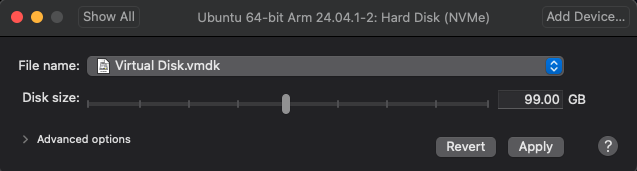
Select appropriate disk size for your setup
3. Install Ubuntu 24.04
After saving the configuration for Ubuntu in VMware Fusion, click start on the virtual machine. This will boot Ubuntu 24.04 from the ISO image. Follow the installation steps and select reboot. After installation and before the virtual machine reboots, remove the ISO image mount
4. Enable clipboard and screen resolution
Install the following packages to enable clipboard and screen resolution
sudo apt update && sudo apt install open-vm-tools open-vm-tools-desktop5. Enable directory sharing
Edit fstab and add the following line to the end of the file
sudo nano /etc/fstabvmhgfs-fuse /mnt/hgfs fuse defaults,allow_other 0 0Reboot the system after adding the entry into fstab. Once the system starts, the shared directory between host (Mac) and Ubuntu 24.04 will be available at /mnt/hgfs. You can add a bookmark so it is accessible easily from the file manager
6. Customize Ubuntu 24.04
Default installation of Ubuntu usually requires further customizations to not only make it visually more appealing but more convenient as per your need. I always customize my installation for themes, icons, shell, terminal and application shortcuts. You can follow the steps given below to customize Ubuntu 24.04
i. Modify dock settings
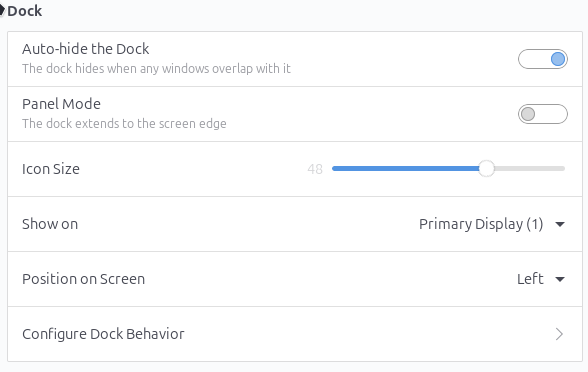
You can enable auto-hide and disable dock extending to the screen edge
ii. Install tweak tool and shell extension manager
sudo apt update && sudo apt install gnome-tweaks gnome-shell-extension-manageriii. Install shell extensions
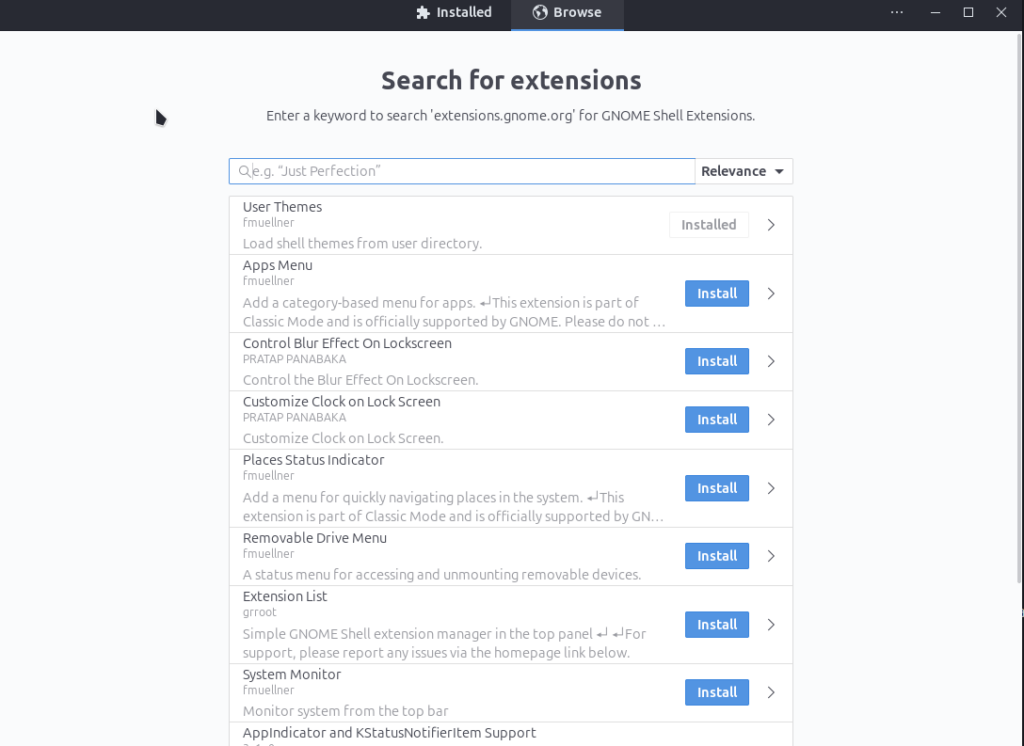
Launch Extension Manager and search for extensions to install
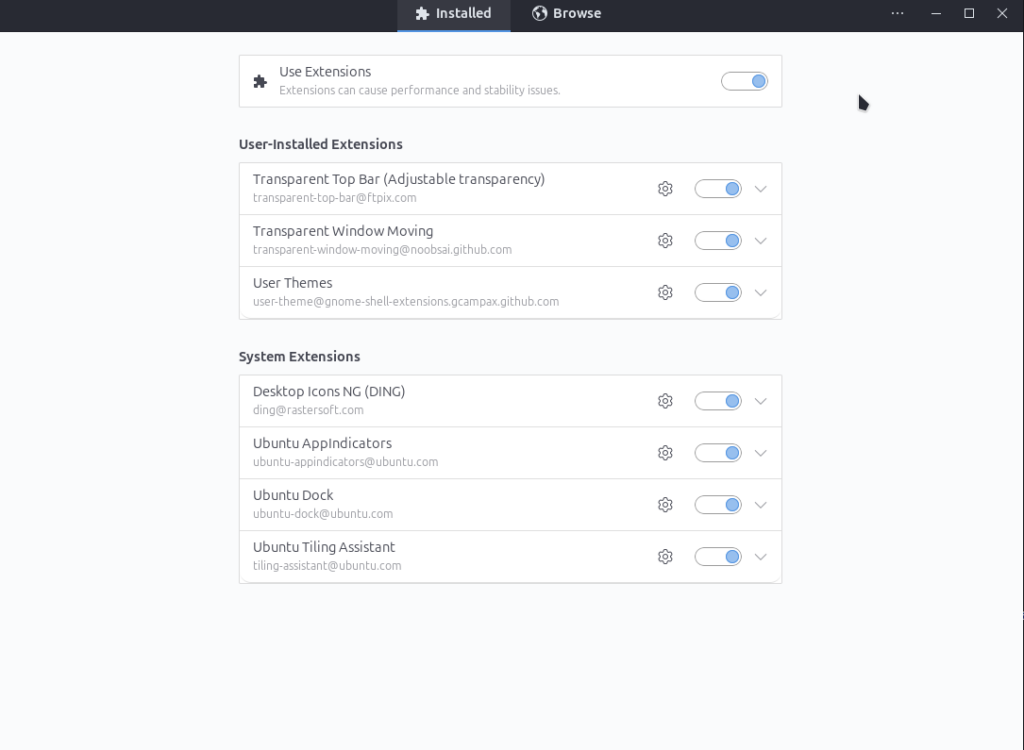
I installed User Themes, Transparent Window Moving and Transparent Top Bar extensions
iv. Customize the desktop theme, icons and cursors
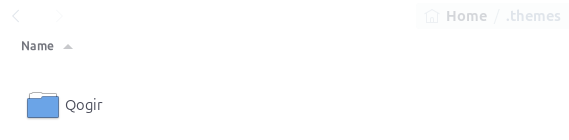
Go to www.gnome-look.org, search for a theme and download the compressed file. Extract the file and copy the theme folder from it to the .themes folder under home directory. If .themes folder does not exist, create it and then copy the extracted theme. Similarly, search for icons and cursors theme on www.gnome-look.org, download the files. Extract the files and copy the theme folder from it to the .icons folder under home directory. If .icons folder does not exist, create it and then copy the extracted icons and cursors folders
Open Tweaks and go to Appearance. You should be able to select the themes for Applications, Cursor, Icons and Shell

Notice that new theme is not applied to file manager. You will need to copy gtk-4.0 folder content from your theme into the gtk-4.0 folder inside .config
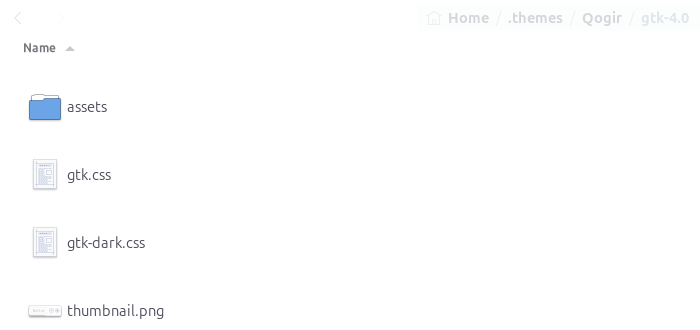
Copy the content of gtk-4.0 folder inside the theme folder
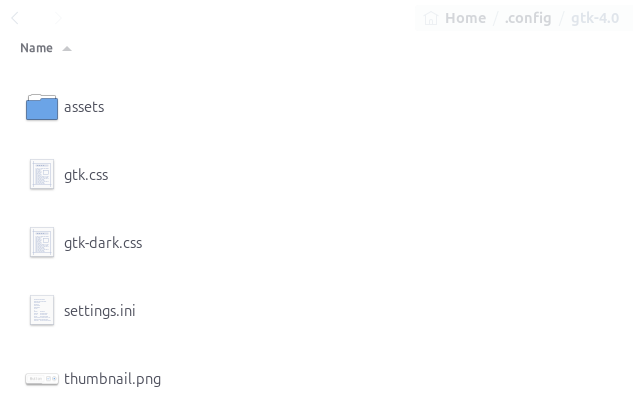
Paste the copied content into gtk-4.0 folder inside the .config folder
v. Customize bash terminal
Modify the bash terminal to include custom prompt, title, alias, etc.
nano ~/.bashrcReload bashrc after any modifications
source ~/.bashrcvi. Add keyboard Shortcuts
Go to Settings -> Keyboard -> View and Customize Shortcuts to modify existing shortcuts and add custom shortcuts. I usually add shortcuts for file manager (Launchers -> Home folder) and applications (Custom Shortcuts) such as browser, editor and an IDE